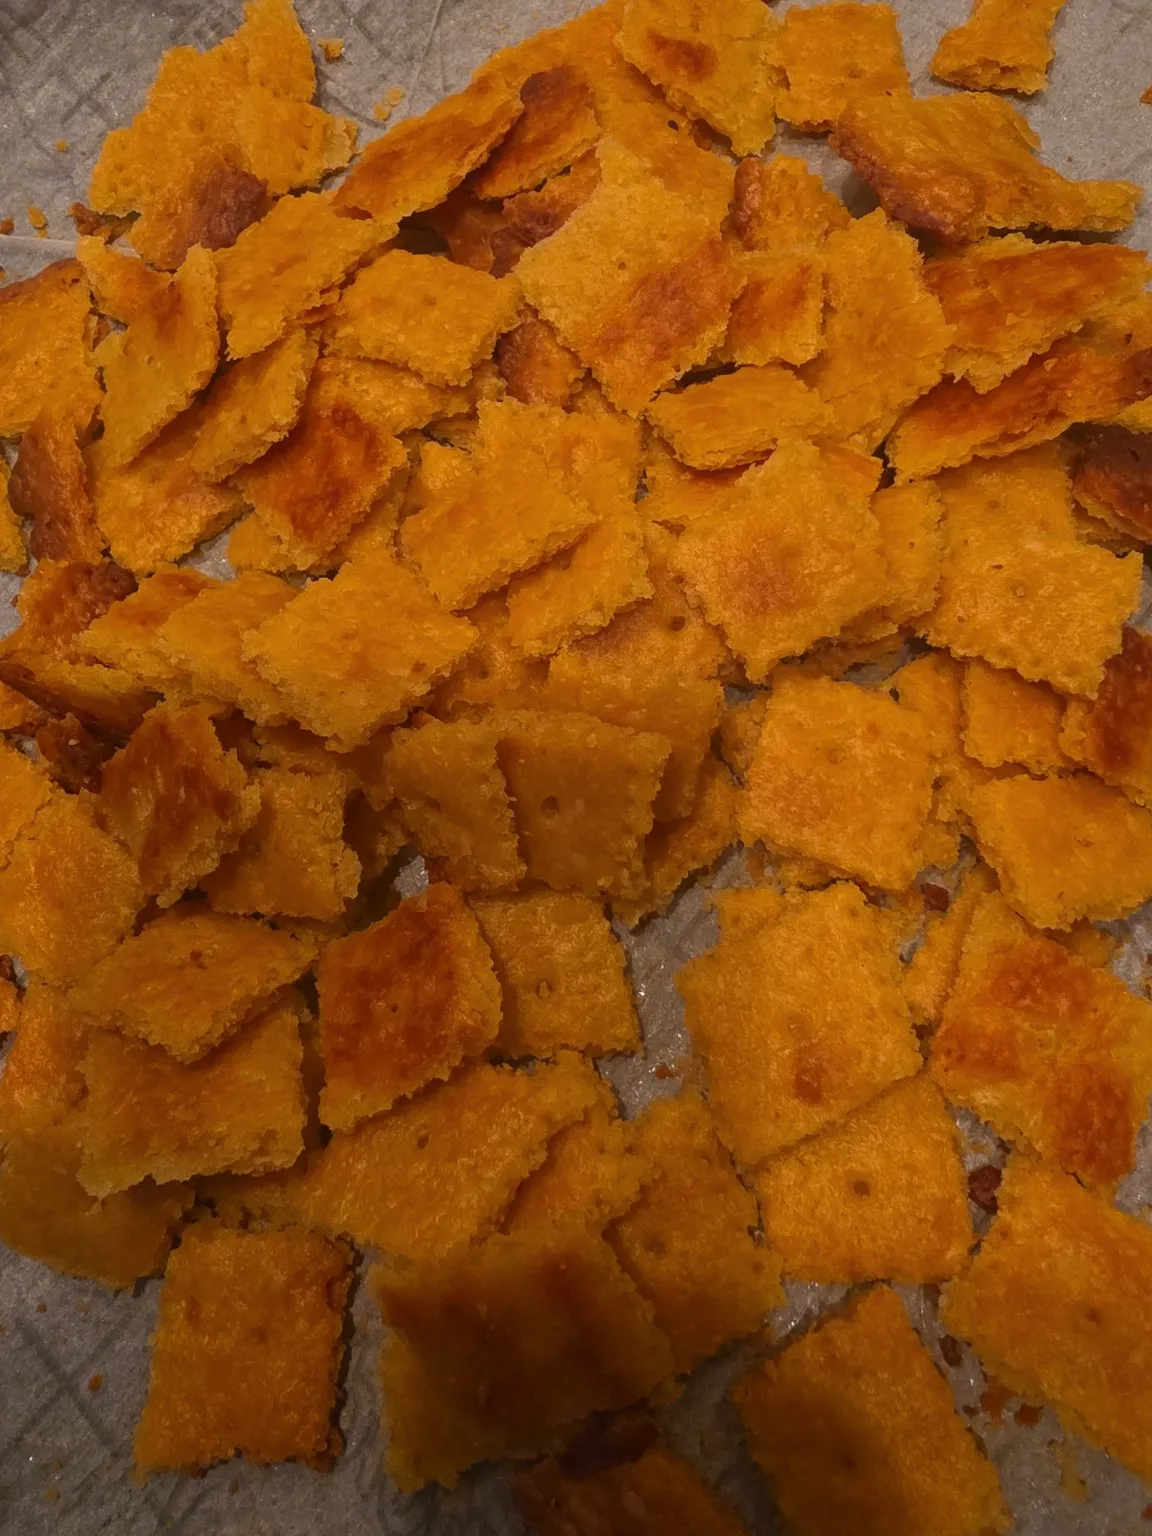
Homemade Cheez-Its: An Easy Grab-and-Go Snack
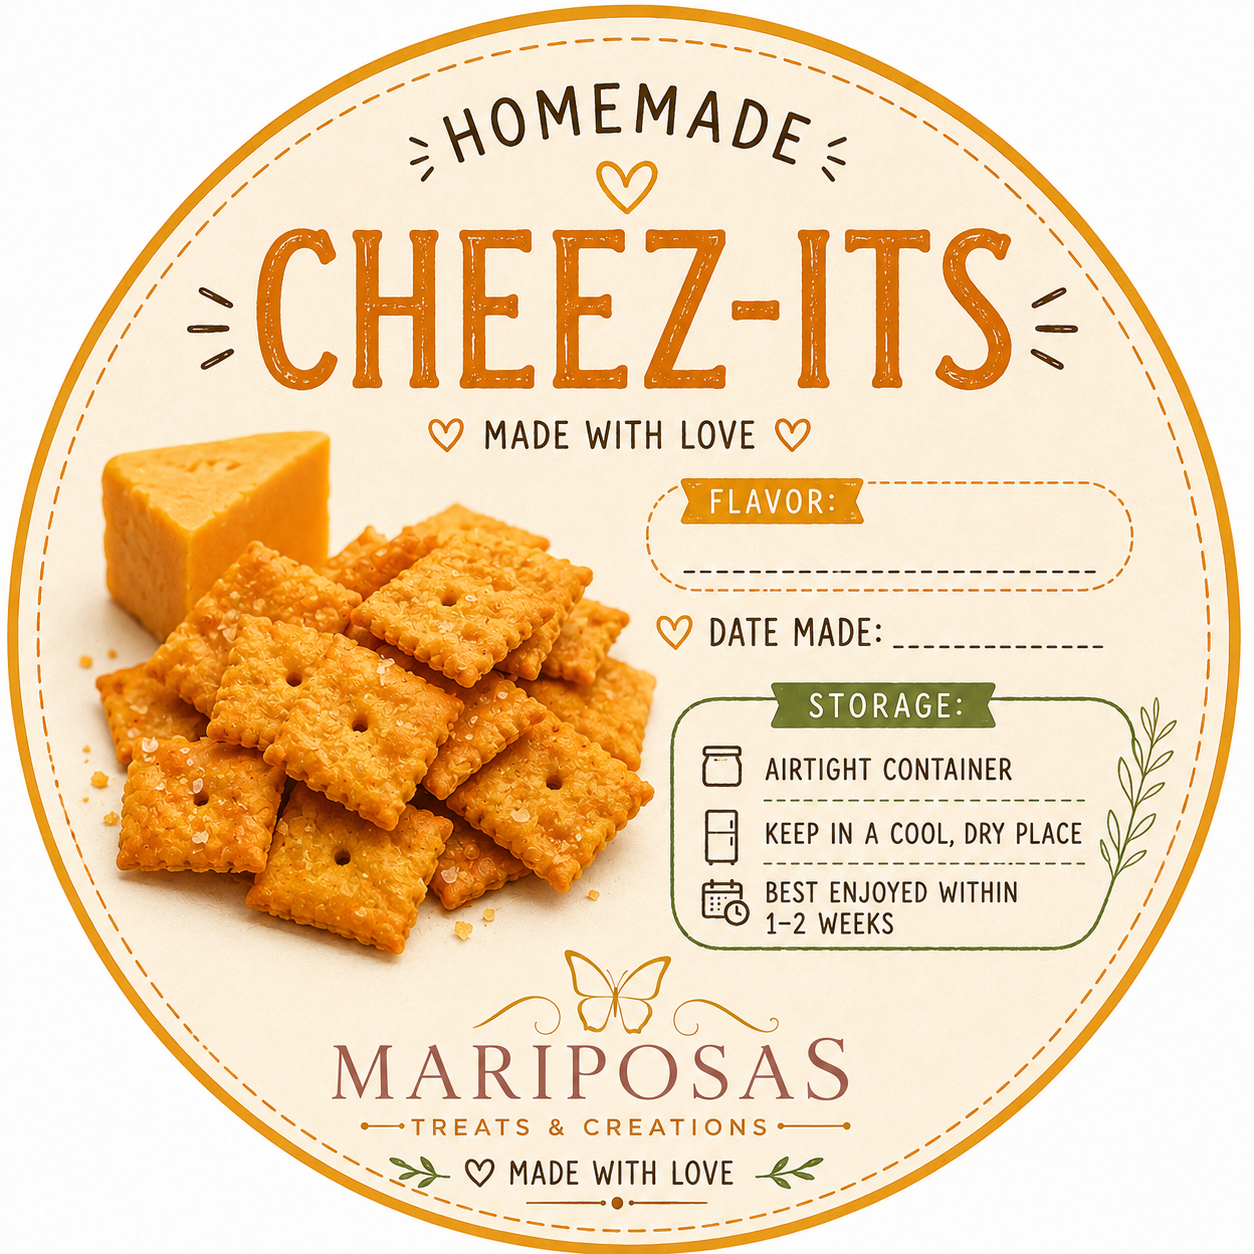
September always feels like the month when everything gets busy at once.
School is back in full swing, extracurricular activities are starting up, practices are running later, lunches need to be packed, and somehow everybody is hungry the second they walk through the door. 😂
And with grocery prices continuing to add up, I’ve been looking for more ways to make the snacks we already love right at home.
That’s where these Homemade Cheez-Its come in.
They’re crispy, cheesy, easy to pack, and—like so many of my Mariposas recipes—the best part is that the recipe is completely customizable.
Make the classic version, turn them spicy, add ranch seasoning, make pizza crackers, switch up the cheese, or create your own flavor completely.
Why Make Your Own Cheese Crackers?
One of my favorite things about making snacks at home is knowing exactly what I’m putting into them.
You can choose your cheese, control the salt and seasonings, make a big batch for the week, and change the flavors depending on what your family likes.
Plus, instead of buying several different boxes of flavored crackers, you can make one dough and divide it into different flavors.
That is my kind of recipe.
Simple, affordable, and universal
Homemade Cheez-It Style Crackers
Ingredients
1 cup all-purpose flour
1 cup finely shredded sharp cheddar cheese
4 tablespoons cold butter, cubed
1–2 tablespoons cheese powder, optional for an extra cheesy flavor
1 teaspoon buttermilk powder, optional
1/2 teaspoon salt
1/4 teaspoon garlic powder, optional
2–4 tablespoons cold water, as needed
For the Top
A little melted butter or cooking spray
Fine salt
Any additional seasoning you want
Step 1: Make the Dough
Add the flour, cheddar cheese, cold butter, cheese powder, buttermilk powder, salt, and garlic powder to a food processor.
Pulse until the mixture looks crumbly.
Add the cold water one tablespoon at a time until the dough begins coming together.
You don't want the dough wet or sticky—just moist enough to hold together when pressed.
Form it into a disk, wrap it, and refrigerate for about 30 minutes.
Step 2: Roll Them Thin
Preheat the oven to 350°F.
Roll the chilled dough out very thin, about 1/8 inch or thinner.
The thinner you roll them, the crispier your crackers will be.
Cut the dough into little squares using a pizza cutter, knife, or pastry wheel.
For that classic cheese-cracker look, poke a small hole in the center of each square with a toothpick or skewer.
Step 3: Bake
Place the crackers onto a parchment-lined baking sheet.
Bake for approximately 12–17 minutes, depending on their thickness.
Keep an eye on them toward the end.
You want the edges lightly golden and the crackers crisp.
Let them cool completely before storing because they will continue to crisp as they cool.
Now Comes the Fun Part: FLAVORS
This is exactly why I love universal recipes.
You don't have to make the same cracker every time.
Divide your dough—or divide the baked crackers—and experiment.
Classic Cheddar
Keep them simple with cheddar cheese and a little salt.
Extra Cheesy
Add cheese powder to the dough and sprinkle a tiny bit more over the warm crackers.
Spicy Cheddar 🔥
Add:
Cayenne
Chili powder
Paprika
A little garlic powder
You can make them mild for the kids or turn the heat ALL the way up.
Ranch
Toss the finished crackers with:
Buttermilk powder
Garlic powder
Onion powder
Dill
Parsley
Salt
Pizza Crackers 🍕
Try:
Parmesan
Garlic powder
Onion powder
Oregano
Basil
A little tomato powder if you have it
Jalapeño Cheddar
Add finely minced or powdered jalapeño with sharp cheddar.
White Cheddar
Swap the regular cheddar for white cheddar and add a little cheese powder if you want an extra punch of flavor.
Everything Seasoning
A light sprinkle of everything bagel seasoning gives them a completely different personality.
And honestly?
Once you understand the base recipe, you can create just about any flavor you want.
Make Them Lunchbox Ready
Once completely cooled, portion the crackers into small snack bags or reusable containers.
That makes them easy to grab when you're:
Packing school lunches
Heading to sports practice
Running to dance, gymnastics, clubs, or after-school activities
Taking a road trip
Packing snacks for younger kids
Trying to stop everyone from yelling, “MOM, I'M HUNGRY!” five minutes after leaving the house 😂
I like the idea of making one large batch and dividing it into several flavors so everybody can grab their favorite.
Storage
The biggest rule is:
Let them cool completely before sealing them.
Any leftover warmth can create moisture inside the container and soften your crackers.
Store them in an airtight container or sealed snack bags in a cool, dry place.
For the best crunch, I like making smaller batches that will actually get eaten instead of making enough crackers to survive the apocalypse.
A Little Mariposas Reminder 🦋
Homemade doesn't always have to mean complicated.
Sometimes it's simply taking something your family already buys and asking:
“Can I make this myself?”
That's how so many of my recipes begin.
And once you learn the basic version, make it yours.
Change the cheese.
Change the seasoning.
Make it spicy.
Make it mild.
Let the kids create their own flavor.
Because a recipe doesn't have to stay one recipe.
It can be the starting point for ten more.
And during this busy back-to-school season, having an inexpensive homemade snack sitting there ready to grab?
I'll take that win. 🦋
Made with love, made at home, and made your way.
— Mariposas LLC